

Managing Endpoints
Once a namespace exists, you populate it with endpoints. Each endpoint is a deployed model or Actor that becomes callable by API keys scoped to this namespace. You can add, configure, and remove endpoints at any time without downtime for other endpoints.
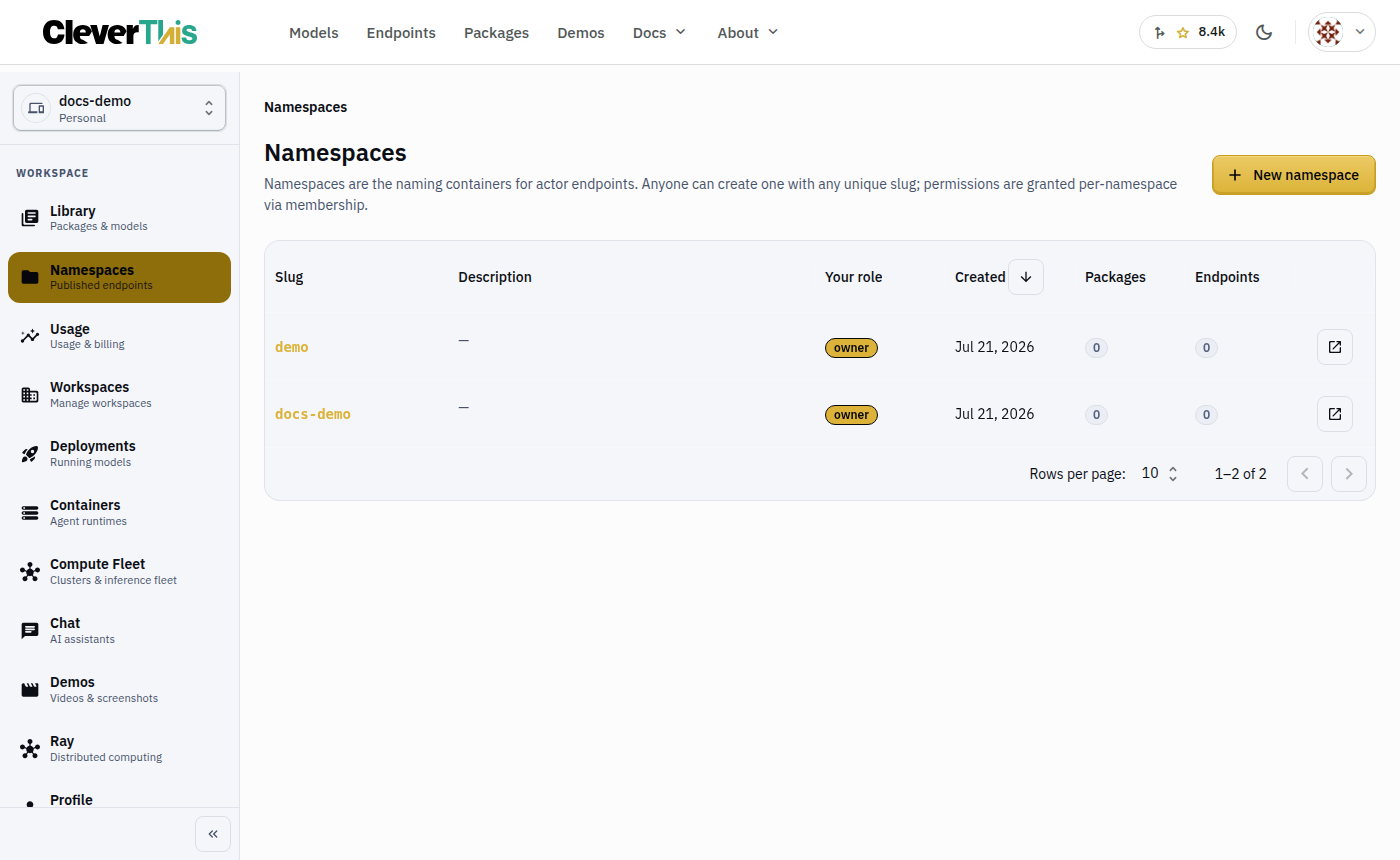
Open a namespace by clicking its name on the Namespaces page. The detail view shows a table of all currently deployed endpoints with their model IDs, status, and traffic stats.
Adding an endpoint
- From the namespace detail view, click Add Endpoint.
- Choose a model or Actor from the picker. The picker shows all models in your Library.
- Set the endpoint model ID — this is the
"model"string callers use. It defaults to the canonical model ID but you can override it (e.g. mapopenai/gpt-4oto the aliasdefault). - Configure optional settings:
- Rate limit — RPM (requests per minute) and TPM (tokens per minute) caps
- Cost cap — maximum credits per day or per month
- System prompt override — a system message injected into every request
- Click Deploy. The endpoint appears in the namespace table with status
running.
Removing an endpoint
Click the three-dot menu on any endpoint row and select Remove. In-flight requests
complete before the endpoint is removed. New requests to that model ID return 404.
API keys that were calling this model ID need to switch to a different one.
Removing an endpoint does not delete the deployment record — it appears as stopped in
the Deployments view and can be restarted from there.
Endpoint configuration
Click any endpoint row to open its configuration panel. All settings can be changed without redeploying — changes take effect within seconds.
Rate limits
Two rate limit controls are available per endpoint:
Requests per minute (RPM) — the maximum number of API calls this endpoint accepts
per 60-second window. Requests beyond this limit receive 429 Too Many Requests. The
rate limit is per-endpoint, not per-key — all keys hitting this endpoint share the limit.
Tokens per minute (TPM) — the maximum total tokens (input + output) processed per 60-second window. Useful for controlling cost when callers send large prompts.
When both RPM and TPM are set, whichever limit is hit first triggers the 429 response.
Cost caps
Cost caps provide a hard spending ceiling per endpoint:
Daily cap — resets at midnight UTC each day. If the cap is reached, the endpoint
returns 429 until midnight.
Monthly cap — resets on the 1st of each calendar month. Useful for budget-constrained environments where you want to cap monthly spending on a specific model.
When a cost cap is hit, the error response includes a header
X-CT-Cap-Reset: <ISO timestamp> indicating when the cap will reset.
Cost caps are advisory in one sense: a request that starts before the cap is reached will complete even if it pushes spending slightly over the cap. The next request after the cap is exceeded is blocked.
System prompt override
A system prompt override is a system message injected at the gateway into every request to this endpoint. The override replaces the caller's system message (if any). Callers cannot remove or bypass the override.
Use cases:
- Enforce a specific persona or response style for all callers
- Add safety or content policy instructions that every request must obey
- Inject dynamic context (e.g.
Today's date is {{ date }}) without client-side changes - Restrict the model to a specific task domain
The system prompt field supports the same Jinja2 template variables available in Actor
YAML: {{ last_user_message }}, {{ messages }}, and {{ env.VAR_NAME }}.
Viewing endpoint traffic
The endpoint configuration panel includes a mini traffic chart showing requests per hour and token usage over the last 24 hours. Click View full stats to open the Usage & Billing page filtered to this endpoint.
Verifying endpoints via the API
After deploying, confirm your endpoint is reachable with a quick models list call:
curl https://api.cleverthis.com/v1/models \
  -H "Authorization: Bearer ct_live_YOUR_KEY"
A successful response lists the model IDs available in the key's namespace:
{
  "object": "list",
  "data": [
    {"id": "openai/gpt-4o", "object": "model", "created": 1720000000, "owned_by": "openai"},
    {"id": "anthropic/claude-3-5-sonnet", "object": "model", "created": 1720000001, "owned_by": "anthropic"}
  ]
}
If the endpoint is not listed, check that its status is running (not stopped or failed).
Endpoint status
| Status | Meaning |
|---|---|
running | Endpoint is live and accepting requests |
stopping | Stop requested; draining in-flight requests |
stopped | Inactive; not accepting requests but can be restarted |
failed | Error during deployment; see the deployment detail for the reason |
Restarting a stopped endpoint
Stopped endpoints can be restarted without recreating them. From the endpoint row,
click the three-dot menu and select Restart. The endpoint moves through pending →
running within a few seconds.
Namespace-level vs endpoint-level rate limits
CleverThis supports two layers of rate limiting:
Endpoint-level limits (configured per endpoint in the namespace detail view) apply only to that specific model ID. Other endpoints in the same namespace are unaffected. Use endpoint-level limits to protect individual expensive models.
Namespace-level limits (configured in the namespace Settings tab) apply to the namespace as a whole — all traffic across all endpoints combined. Use namespace-level limits to cap the total load a namespace can receive, regardless of which models it serves.
When both are configured, whichever limit is hit first applies. For example:
- Namespace limit: 1000 RPM
- Endpoint A limit: 600 RPM
- Endpoint B limit: 600 RPM
If A uses 600 RPM and B uses 500 RPM, B is not individually limited but the namespace total is 1100 RPM, so the namespace limit triggers a 429 on all further requests to either endpoint until the window resets.
To set a namespace-level rate limit:
- Open the namespace detail view.
- Click the Settings tab.
- Set Namespace RPM cap and/or Namespace TPM cap.
- Click Save.
Programmatic endpoint management
All endpoint operations available in the UI are also available via the A2A control
plane API using a management key (ct_mgmt_):
# List endpoints in a namespace
curl -X POST https://api.cleverthis.com/a2a \
  -H "Authorization: Bearer ct_mgmt_YOUR_KEY" \
  -H "Content-Type: application/json" \
  -d '{
    "jsonrpc": "2.0",
    "method": "namespaces.listEndpoints",
    "params": {"namespace": "prod"},
    "id": 1
  }'

# Add an endpoint to a namespace
curl -X POST https://api.cleverthis.com/a2a \
  -H "Authorization: Bearer ct_mgmt_YOUR_KEY" \
  -H "Content-Type: application/json" \
  -d '{
    "jsonrpc": "2.0",
    "method": "namespaces.deployModel",
    "params": {
      "namespace": "prod",
      "model": "openai/gpt-4o",
      "alias": "default",
      "rateLimit": {"rpm": 500, "tpm": 100000}
    },
    "id": 1
  }'
See the A2A control plane — Namespaces reference for the full list of methods.